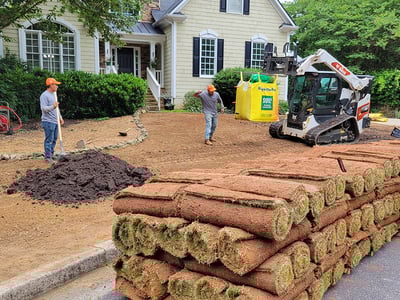



Learn how to lay your own sod and save valuable time and money! It's a lot easier than you think, just spend 5 minutes reviewing these 7 steps of how to successfully lay your own sod.
STEP 1: Select the Right Type of Sod
Select the right type of grass for you and your site.
Give us a call or use the filter in our sod shop to help you select the right turfgrass for your site conditions and lifestyle.
STEP 2: Measure Area
Make a sketch of your lot and measure the area you wish to sod. Calculate the square feet of product needed by multiplying length times the width of the area measured. Deduct a reasonable amount for buildings, paved drives, and walkways.
length x width = square feet of sod needed
For assistance with odd lawn shapes, use our Lawn Area Calculator.
To avoid running short, consider ordering slightly more sod than your measurements require.
STEP 3: Conduct a Soil Test
Healthy soil gives new sod the best opportunity to establish strong roots, but before adding any soil amendments, start with a soil test. The results will identify any nutrient or pH issues that need to be corrected before installation.
A soil test can also help you avoid unnecessary expenses by showing exactly what your soil needs. For example, if your soil pH is already in the proper range, there's no reason to apply lime.
STEP 4: Prepare Your Soil
If renovating an existing lawn or weed patch, destroy the current vegetation with herbicide or a sod cutter.
Prepare the site by grading so that the soil slopes away from foundations and buildings, thus avoiding drainage problems. Water heavily to see if water puddles in any low spots, and if it does, add soil and/or regrade to eliminate low spots. Keep soil surface 1/2 inch below walks and drives. Tilled soil will settle some.
Then, till to a depth of 4 to 6 inches, smooth the soil, remove rocks, roots, clods, debris, and vegetation.
Now it's time to improve your soil with amendments, based on the results of a soil test, as explained above. Our experience shows that no preplanting fertilizer is necessary when using Soil³ compost, so you can choose one or the other.
Soil Amendment Options:
-
Limestone: Apply and rake in lime based on soil test results. Note: Centipede may never need lime, but Tall Fescue often does. Look up the acidic/alkaline needs of our other lawn grasses: Why Lawn pH Matters - Testing & Adjusting Soil pH for a Healthy Yard
-
Soil³ Humus Compost: Just spreading a layer or raking the compost into the existing topsoil is usually sufficient. Read about How to Prepare Your Lawn for Success with Compost.
-
Fertilizer: Apply and rake in fertilizer based on soil test results and/or according to the products listed below.
These are the starter fertilizers that we recommend:
- For new Centipede lawns, always choose 5-10-30 fertilizer because it's safely low in nitrogen for this sensitive lawn
- For Bermuda, Zoysia, and St. Augustine sod, use 5-10-30 or 18-24-12 starter fertilizers. Here's our nitrogen rule of thumb: choose low-nitrogen 5-10-30 when the lawn is dormant; high-nitrogen 18-24-12 is okay when the new sod is green. (Nitrogen is the first number in fertilizer ratios, so for 5-10-30, the 5 represents low nitrogen, so it's safe for dormant warm-season sod.)
- For new Tall Fescue sod, we recommend 18-24-12 fertilizer for new Tall Fescue sod installed during the cool months of fall through mid-spring.
- For all new sod installed from July through first frost in autumn, we recommend 5-10-30 fertilizer with acelepryn insecticide to protect your tender new sod from fall armyworms.
STEP 5: Schedule Delivery
Schedule your sod to be delivered after the site is prepared and you are ready to install.
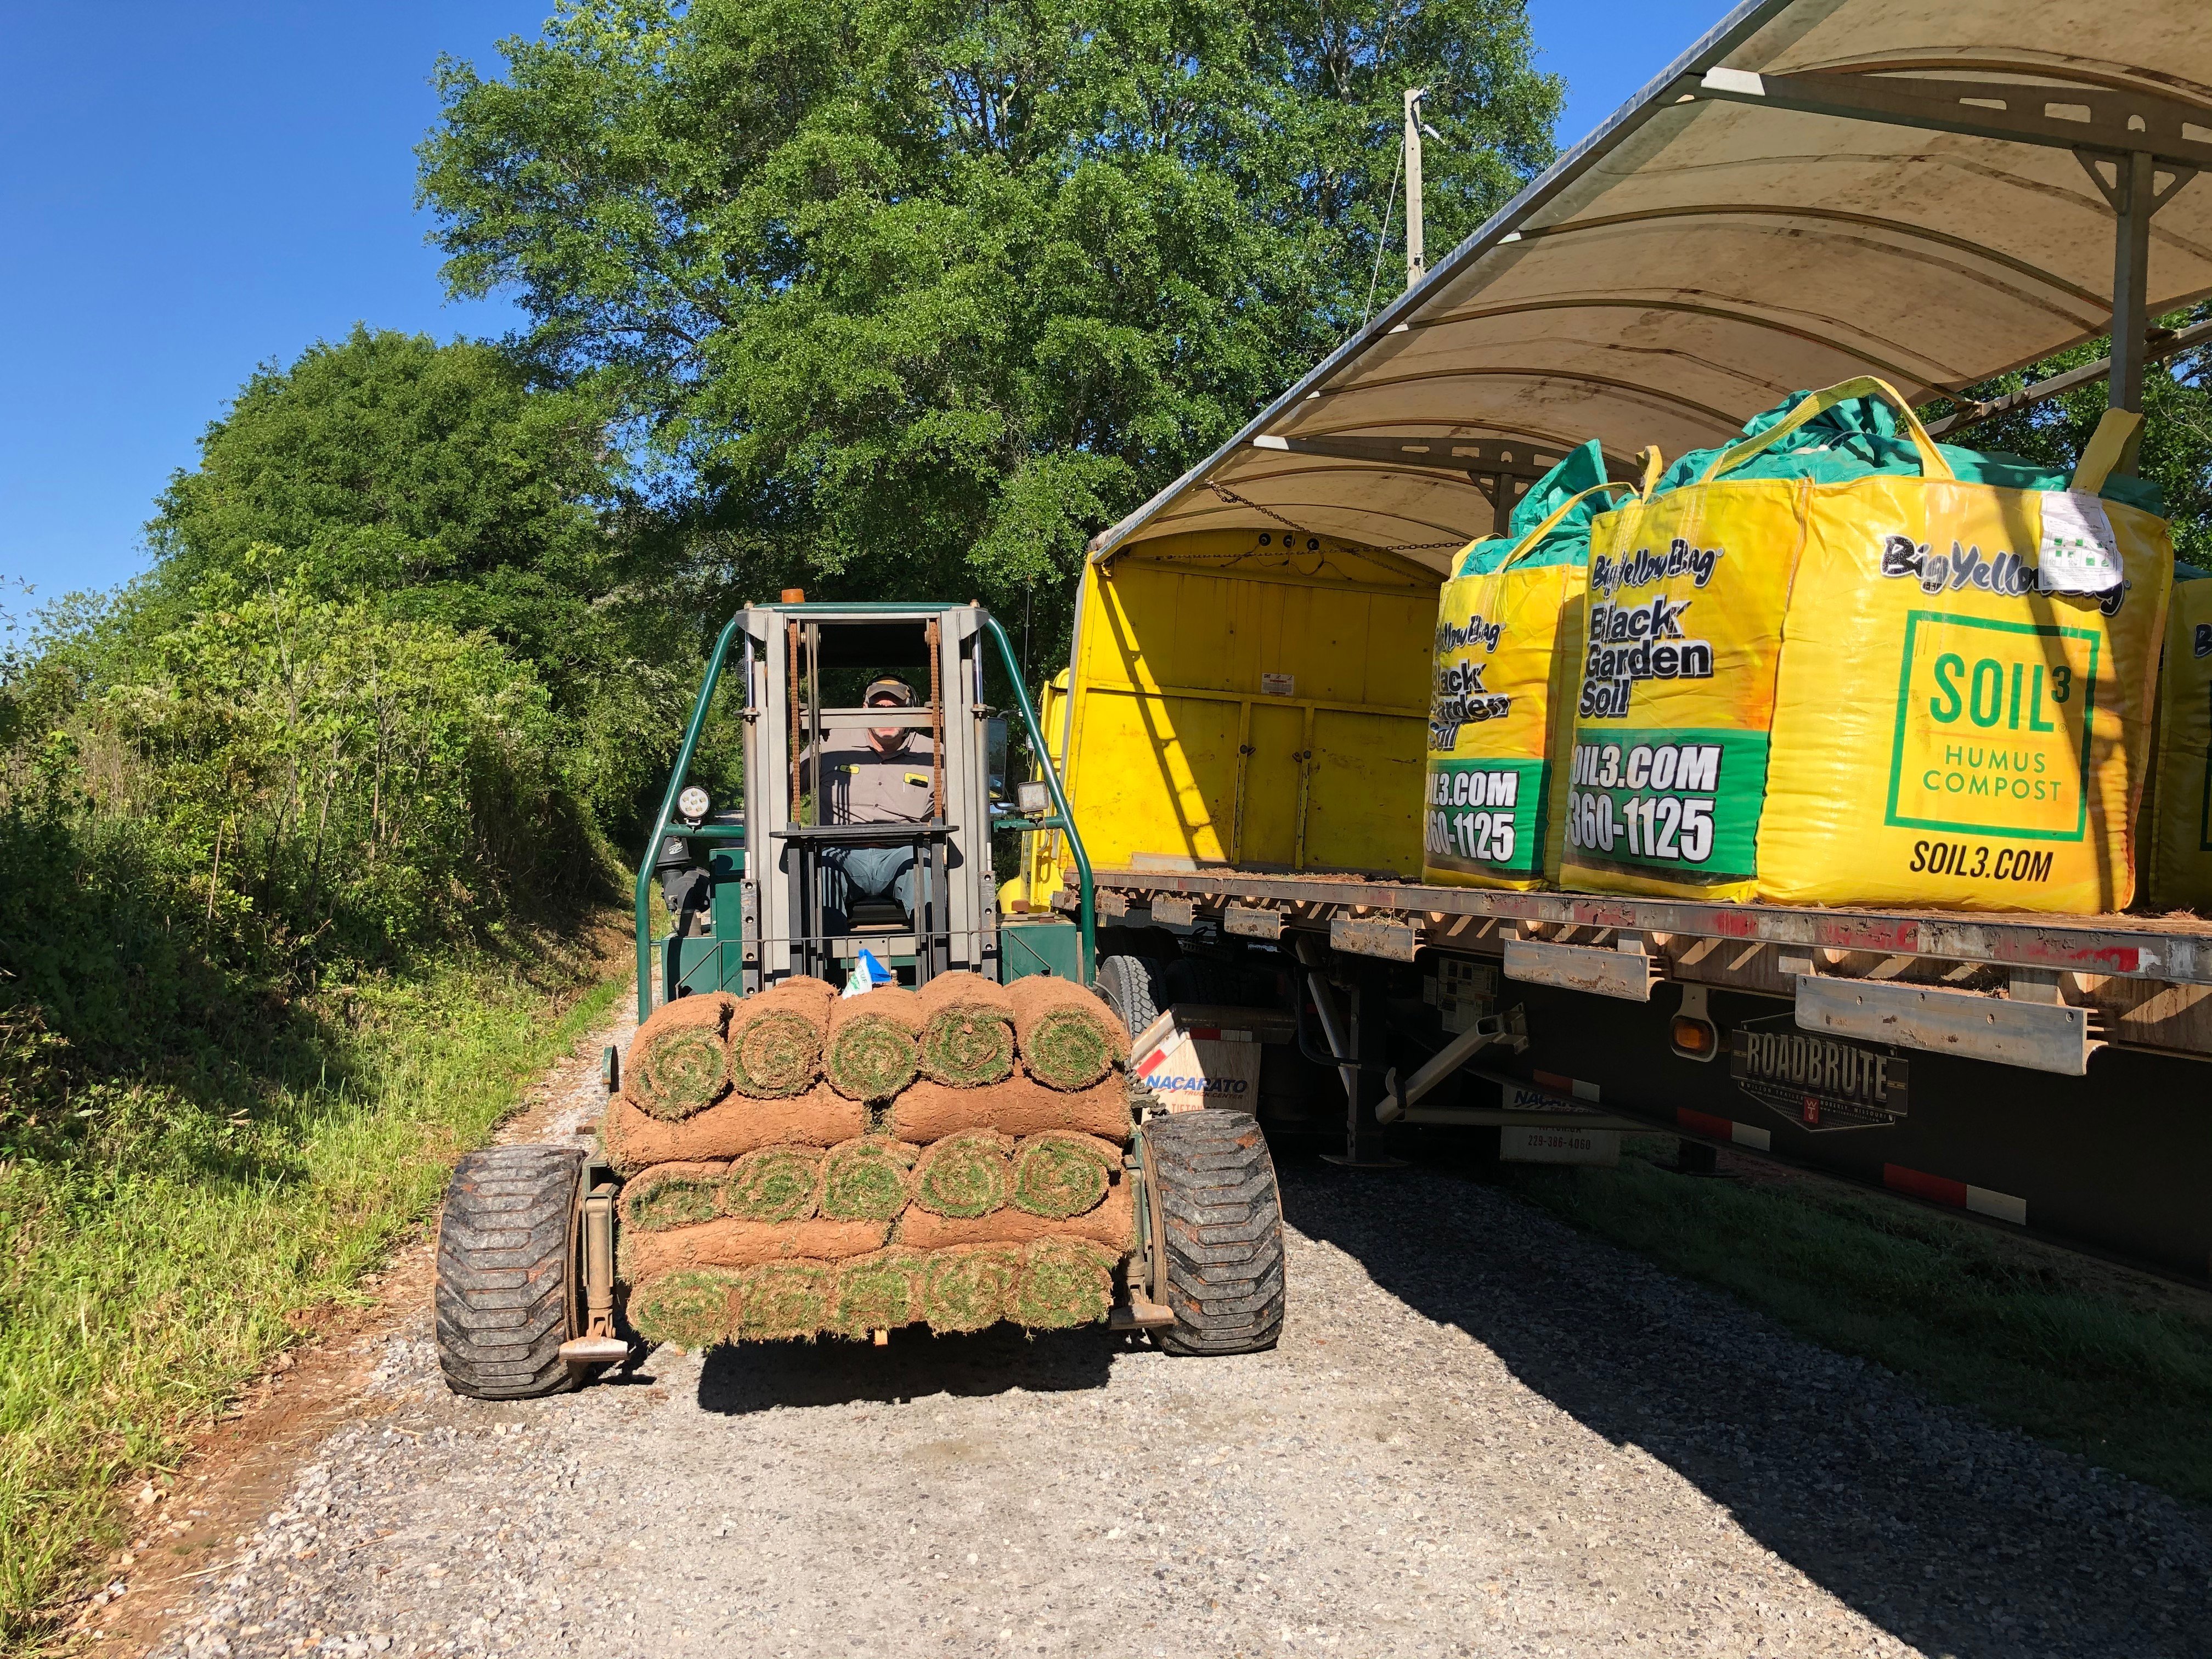
Prompt installation on the day of delivery is crucial to a strong beginning for your lawn.
Find a spot in the shade to preserve your farm-fresh sod as you lay it. Read our hacks on how to Store Sod in the Shade - Even if You Don't Have a Tree.

STEP 6: Install Sod
Water to dampen the bare soil and start laying sod immediately after delivery.
In hot weather, protect unlaid sod by placing in the shade.
New Sod Installation Details
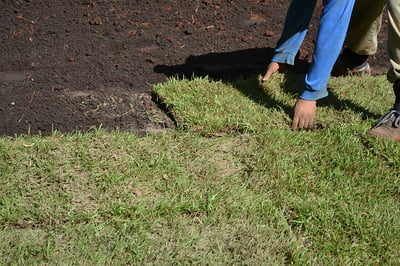
- Begin installing sod along the longest straight line, such as a driveway or sidewalk
- Tightly butt and push edges against each other
- Stretch lightly while placing the sod
- Avoid gaps and overlaps
Cutting New Sod Edges
- When you are cutting in and around edges, make clean cuts with a machete to prevent the sod from drying out
- Lay the sod so that any gaps will be at the edge of your lawn
- Fill in gaps along the edges with cleanly cut pieces of sod.
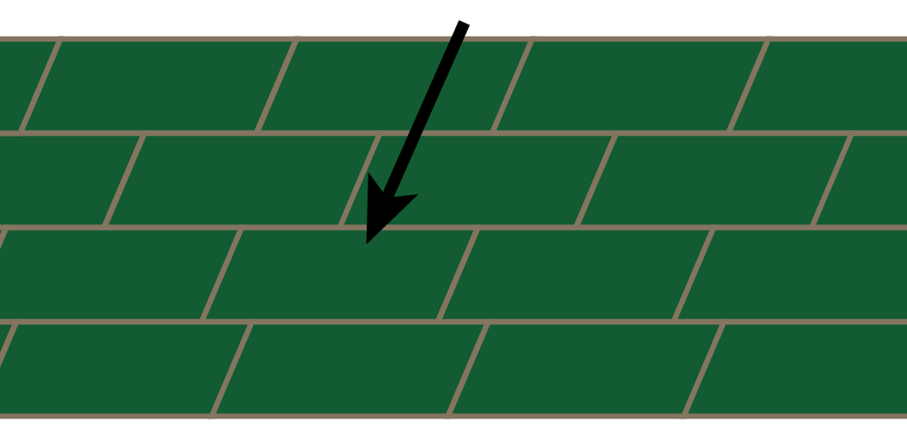
Stagger New Sod in a Brick-like Pattern
We recommend staggering end seams of new sod in a brick-like fashion for two reasons:
-
Aesthetics: A brick-like pattern looks best aesthetically as opposed to four corners meeting at one point.
- Water Runoff: A brick-like pattern prevents long running seams in your sod. If there is a seam all the way down, the water will follow the seam and run all the way down and away from your lawn.
Laying Sod on Slopes
Laying sod on a slope or hill requires a few extra steps to keep your new lawn from separating at the seams, sliding downhill, washing away in rain or irrigation, or otherwise developing erosion problems. Get all our pointers in this article: How to Lay Sod on a Slope or Hill.
Rolling Your New Sod
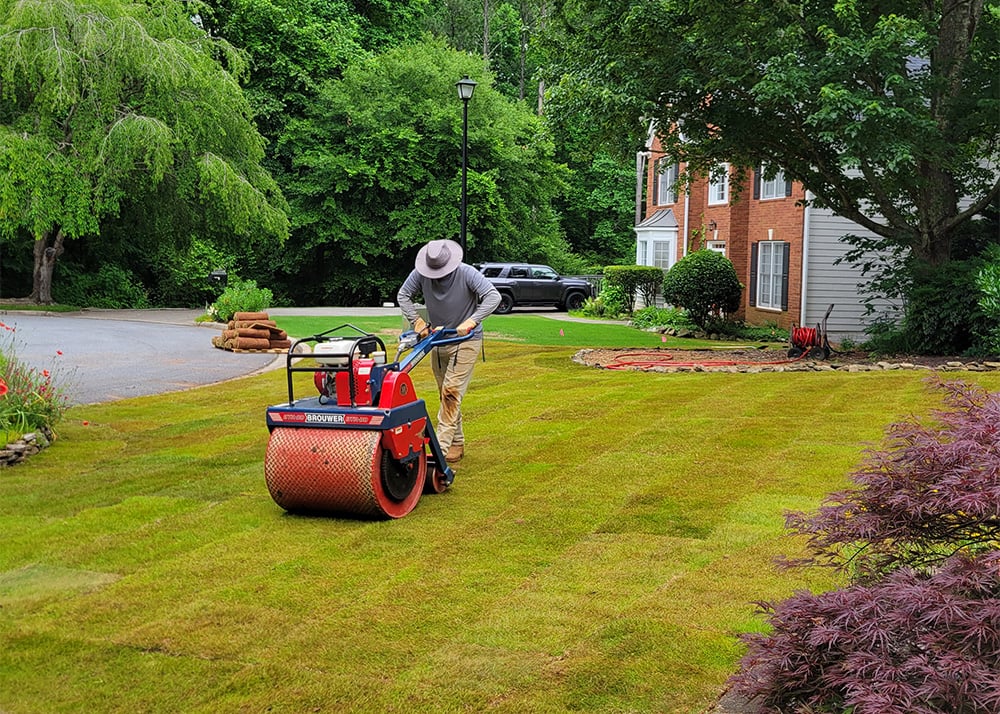
Once your sod has been installed, roll your sod with a sod roller to help new sod roots come into better contact with the soil. This rolling process removes air pockets so your new sod roots faster and more thoroughly. It also helps level the lawn by smoothing out bumps and depressions.
- Rent a sod-roller from your local hardware or equipment rental store.
- Fill the sod roller with water. Don't overfill the sod roller - fill it only as much as you can handle pushing it.
- Roll the sod roller across your lawn in a grid-like pattern.
Installing Dormant Sod
When installing dormant sod, consult our guide on How to Lay Dormant Sod.
STEP 7: Water Frequently
Water as You Lay Sod
Begin watering small sections within 30 minutes of installation. Keep in mind that each roll is a living plant that requires soil contact and moisture to survive.
Our saying is: Water as You Lay Your Sod. A good rule of thumb is to water after you've laid half a pallet and before moving on to the next pallet.
You know you've watered enough when the soil below the new sod is damp.
Water New Sod Until it Roots
Water daily, or more often, keeping sod (and soil underneath) moist until it is firmly rooted. This will take only a few weeks and is faster in summer and when Soil³ humus compost is used to amend the soil.
To keep the soil moist, it may require watering more than once a day, but for a sort duration each time. The frequency and duration depends on your water pressure, climate, and time of year.
Example Scenarios:
- On cool, overcast days in spring or fall, you may need to water new sod only once a day for 10-20 minutes to keep the soil under the sod moist;
- On hot, sunny summer days, you may need to water sod three or more times a day, but for only 10-20 minutes each time (depending on your water pressure), to keep the soil under the sod moist.
Lift a piece of sod here and there to check that you are watering enough to wet the soil below the sod. Read our details about Watering New Sod.
Watering Your Established Lawn
After the rooting-in period, less frequent and deeper watering should begin.
Warm season lawns need at least 1 inch of water per week; a cool season Tall Fescue lawn needs 1 inch of water per week in the cooler months, but 2 inches of water per week during the summer.
Water to supplement rainfall shortages. If 1 or more inches of rainfall occur in a week, additional irrigation is not necessary. Example: if 1/2 inch of rain occurs in a week, apply 1/2 inch by irrigation.
Do not waste water by over watering; avoid run-off. (How and When to Water)
Weather conditions will dictate the amount and frequency of watering. Be certain that your new lawn has enough moisture to survive hot, dry, or windy periods. We have focused instructions about How to Care for Your Lawn When it's Hot.
Water areas on mounds and berms and near buildings more often, where reflected heat dries the turf.
STEP 8: Mowing & Fertilizing New Sod
Begin mowing as soon as there is something to mow, even before the new sod is rooted. It is important that mowing not be delayed too long.
Cut high the first time, but gradually and deliberately lower the cut-height. Find the ideal cutting height for your turf type in these maintenance guides.
Fertilizing can begin after your new lawn is rooted, about one month later. Our rule of thumb is that it's safe to fertilize after you've mowed your new lawn three times. Check out our Fertilizer Schedule for New Sod.
Lay Sod Yourself or Hire Help
By following the steps above, you can install your sod and have the satisfaction of seeing the work of your hands.
However, there are times when we all need to hire help. When that's the case, we will help you find a local landscaper. All you need to do is fill out our Pro Connect form and we'll get vetted landscapers in touch with you.
Going forward, subscribe to our Monthly Lawn Tips email for all the info you need to grow the lawn of your dreams.
Still have unanswered questions? Please ask them in the comments below!